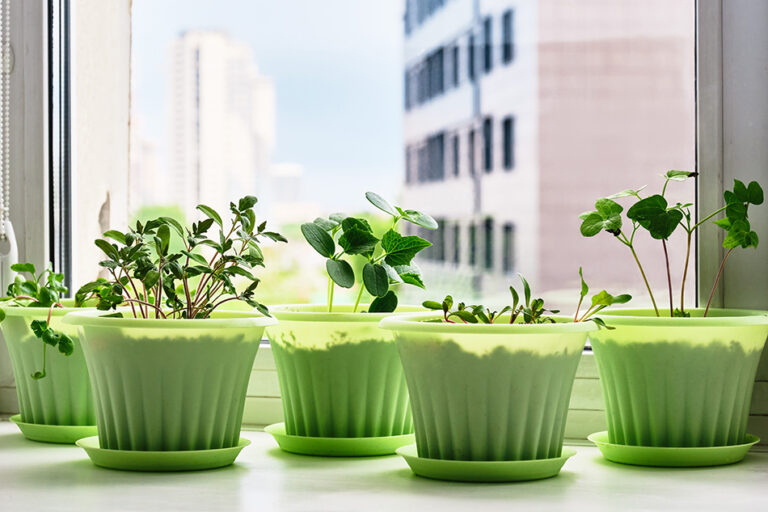
If you’ve been learning about some of the best ways to do your part to keep Mother Earth healthy, there’s a good chance you’ve heard the word “compost” used several times. To put it simply, composting gives you the opportunity to turn waste that might otherwise end up in a landfill into a wonderful plant food that your garden (or your friend’s garden!) will thank you for.
Why Everyone Should Start a Compost Heap
The United States Department of Agriculture (USDA) has reported that about 30% to 40% of the United States food supply ultimately becomes food waste. What’s worse, that food waste makes up more than 20% of the waste that shows up at landfills across the country. While there are certainly efforts to reduce the amount of food waste in American households, the fact remains that there will always be food waste of some kind. A compost heap is a great way for the average family to dispose of their food waste in a practical, environmentally-friendly way. It’s so easy that anyone can do it, and it’s the perfect project to start with your kids – especially if you want to grow some of your own food, too.
What You Need to Start Composting
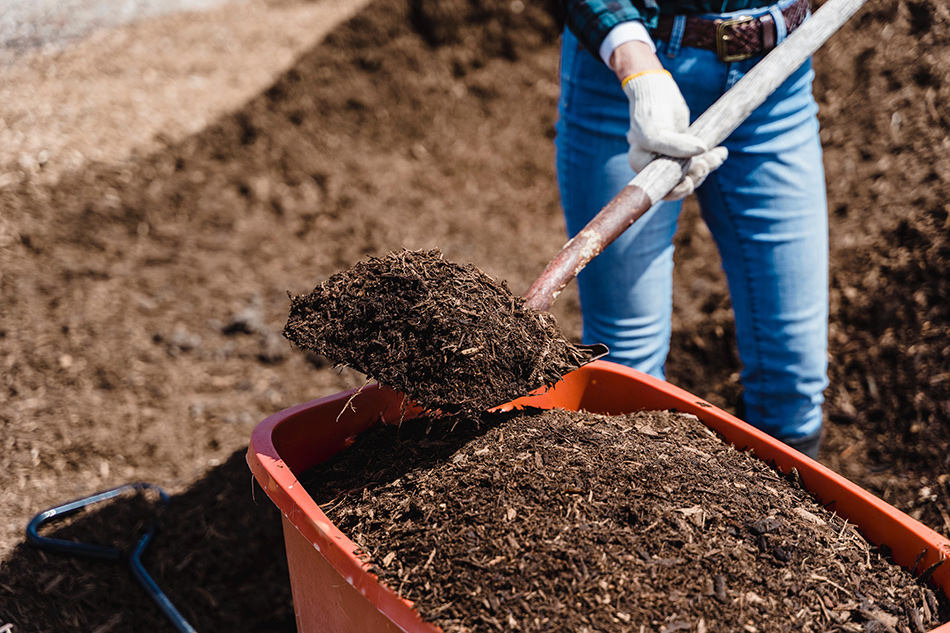
Starting an outdoor compost heap is a simple undertaking that requires little more than some commitment to the planet, some food waste, and a designated spot in your yard. Scientifically speaking, there are five required components in the composting process. These are carbon, nitrogen, moisture, oxygen, and microorganisms – all of which are abundantly available in virtually every household and environment. All you need to do is bring them together, tend to them, and watch them thrive.
The Seven Steps of Composting
Starting a compost pile can be broken down into seven simple steps:
- Pick a spot. You’ll need to clear a space in your yard or garden to put your compost heap. It can be as large or as small as you’d like, but you need to make sure that you clear it down to bare soil.
- Put down a base layer. Whether you have some leftover straw from your fall decor, part of a bale of hay, a bunch of small twigs, or even a pile of dead grass clippings from your lawn, you’ll want to layer them onto the spot you’ve chosen. Aim for a thickness of somewhere between two and four inches.
- Start adding materials. Next, layer on the materials that you want to compost, making sure to alternate between brown layers and green layers.
-
-
- The brown layer is comprised of very fibrous materials like torn-up newspapers, dry leaves, pine needles, sawdust, and even used bamboo toothbrush handles!
- The green layer is comprised of your food scraps, coffee grounds, green leaves and grass clippings, and even manure!
-
- Fertilize with nitrogen. The simplest (and most readily available) nitrogen source is a handful of garden fertilizer.
- Water it! When you water your compost heap, aim for moist rather than wet. Try to water until the moisture level is about the consistency of a damp towel or sponge.
- Keep turning it. Every week or two, turn your compost heap to aerate it and disperse the “heat” that accumulates in the thickest, densest part. Turning your heap also gives the microorganisms the oxygen they need to break the waste down efficiently.
Composting is simple and effective, and if you have kids, they’ll love things turn into compost and dirt over time. The best part is that you can keep adding to it as time goes on, and you might be surprised to learn that more than food can be composted. Mother Nature will thank you, and if you use your compost to feed your garden, you’ll be amazed at the results.